Steps to create Custom Field in NetSuite:
In this article, we will go through the steps to create a custom field in NetSuite that we might need in our Boomi Integration.
Prerequisite: You must have access to NetSuite.
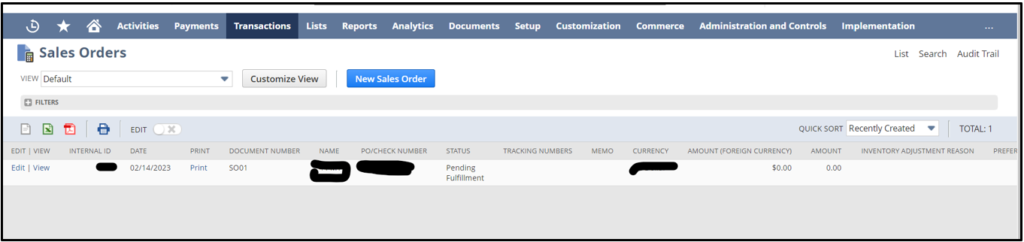
- Once you log in to NetSuite, choose the required Object (like sales orders, customers, products, etc). here I go with Sales Orders as shown below.
- Choose any one Sales Order record from the list. Click on the ‘customize’ button on the right top corner as shown below,

- For adding Header Level fields choose ‘New body field’, for line level fields choose ‘New column field’. Here, I want to add a header level field so I clicked on ‘new body field’.
- Provide the required details for Label, ID, Description, and select Type from the drop-down menu as shown below,
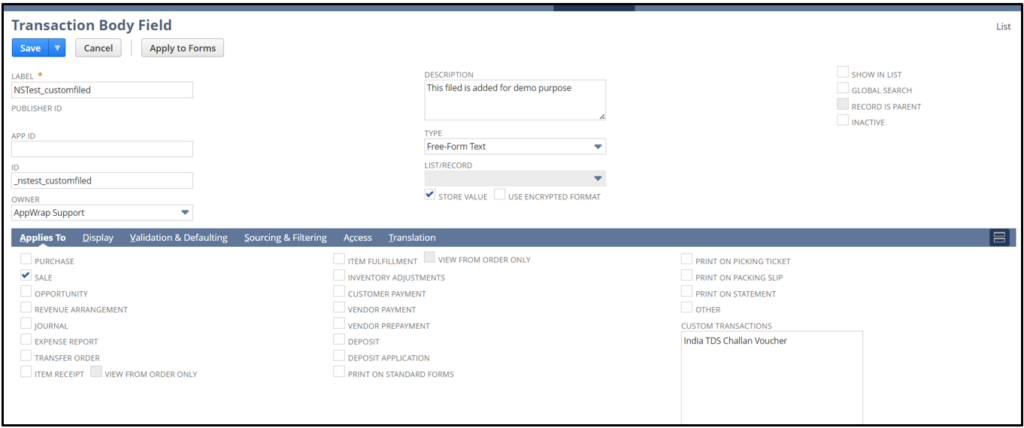
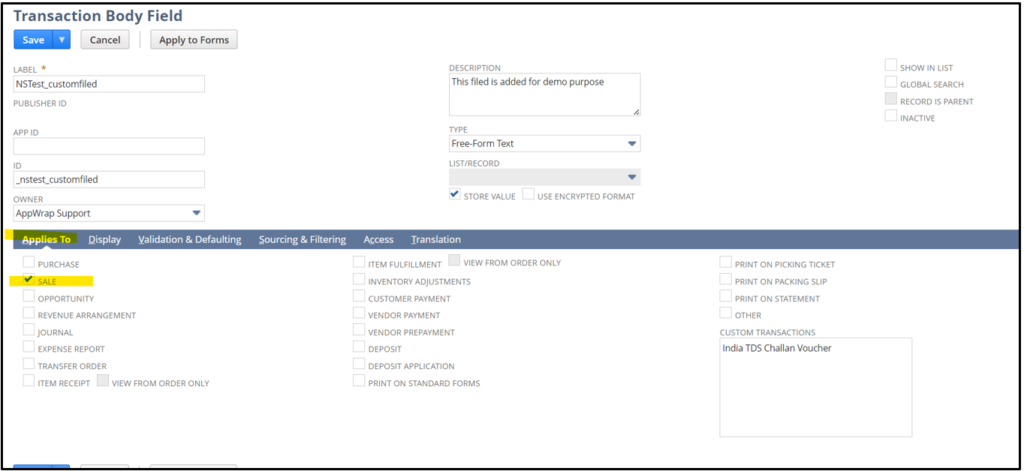
- In the ‘Applies To’ section, make sure you have selected the required object. In my case, my object is a Sales order, so I check marked ‘Sales’ and then hit the save button as shown below.
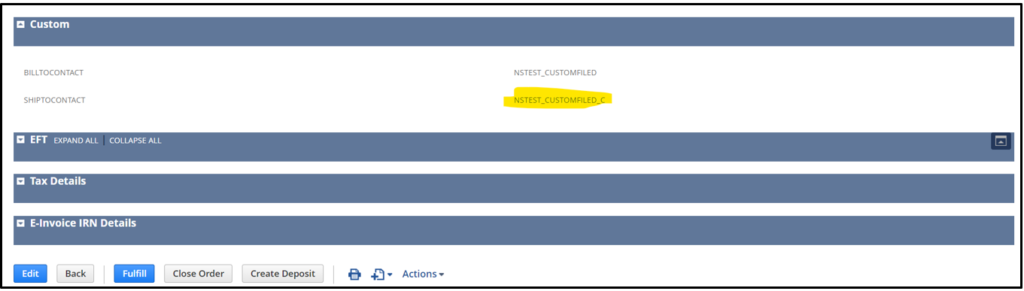
- It will create a new custom field in the respective ‘Sales Order’ record. Then go back to that ‘Sales order’ record, and check for the newly added custom field ’NSTEST_CUSTOMFIELD_C’ in the ‘Custom’ section as shown below.
- Steps to Update/reimport NetSuite profile to validate the ‘custom field’.
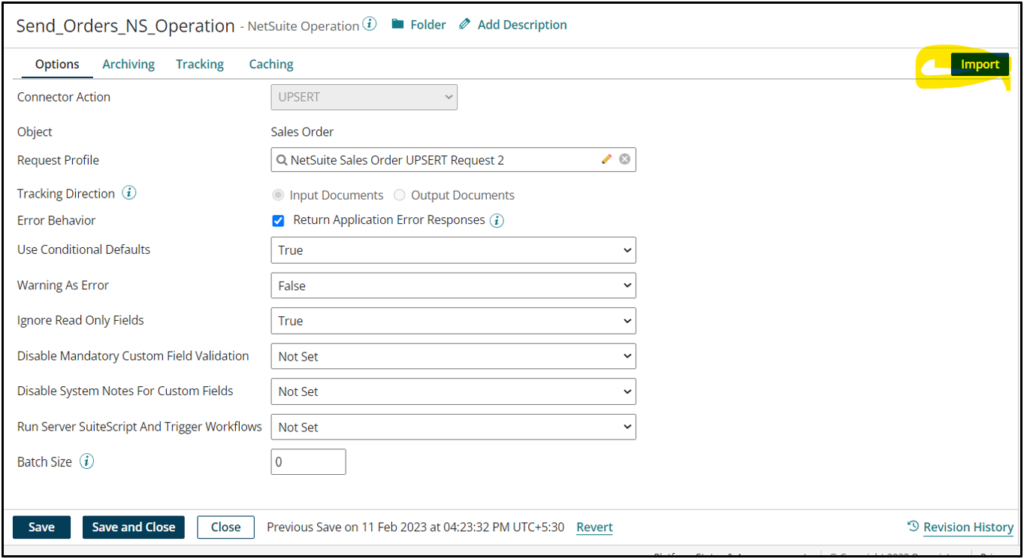
- Go to the respective process and go to the NetSuite operation. Select the ‘Import’ button at the top right corner as shown below,
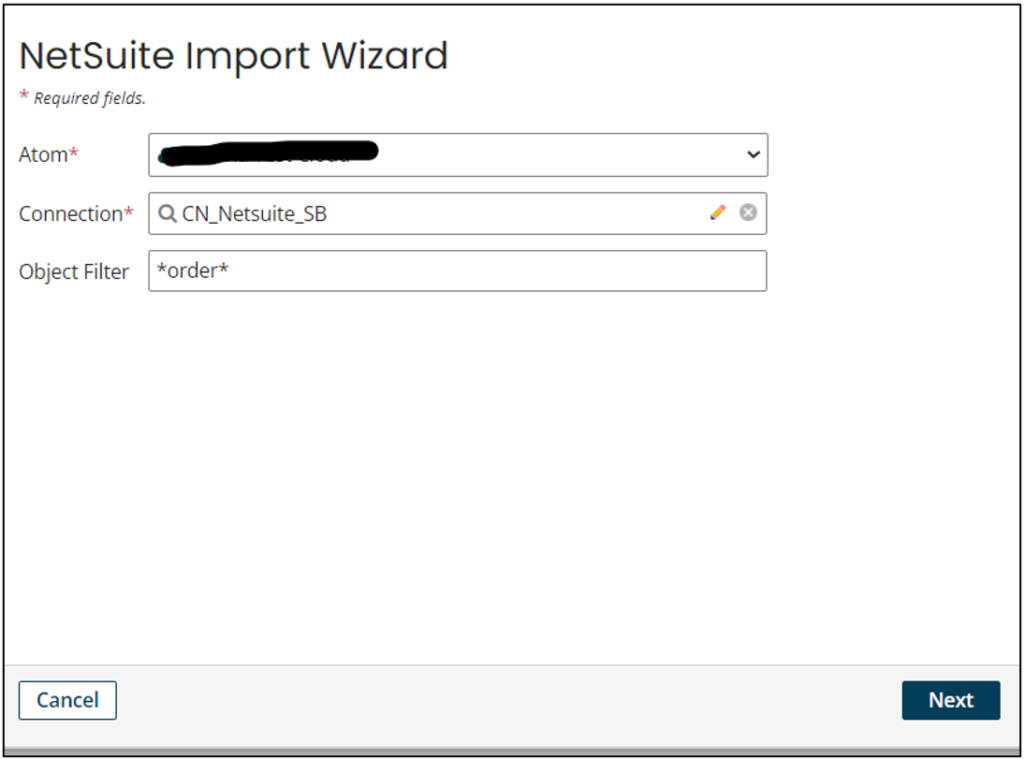
- Then provide the respective atom, connection, and object details and click ‘next’ as shown below.
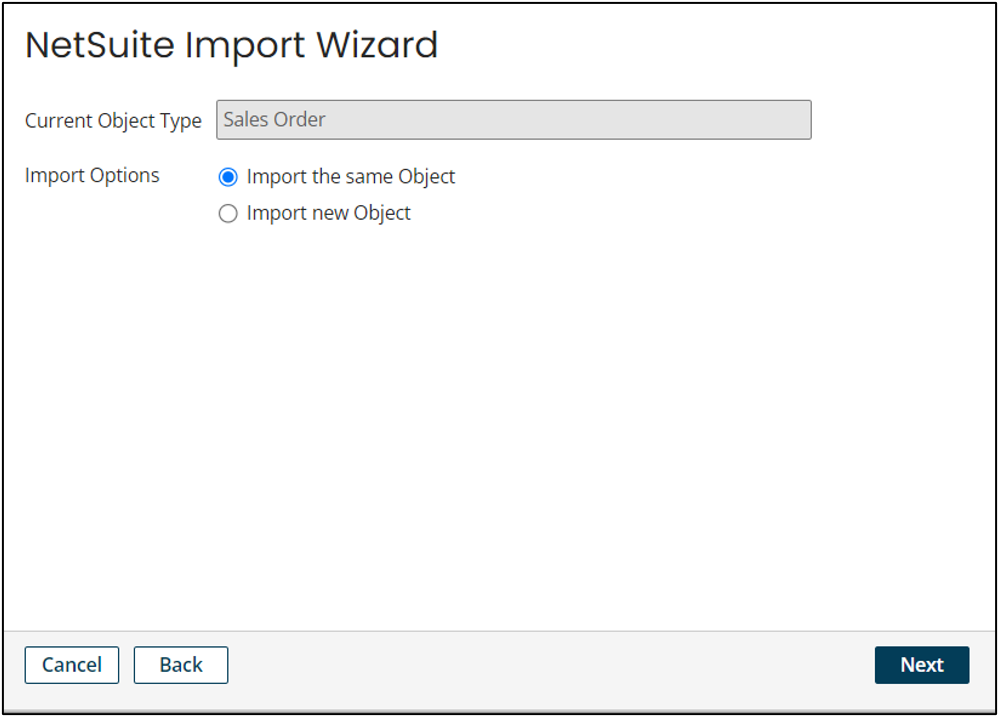
- It will ask you on importing the current object type, should import either the same object or a new object. Here, you can choose ‘Import the same object’ as shown below,
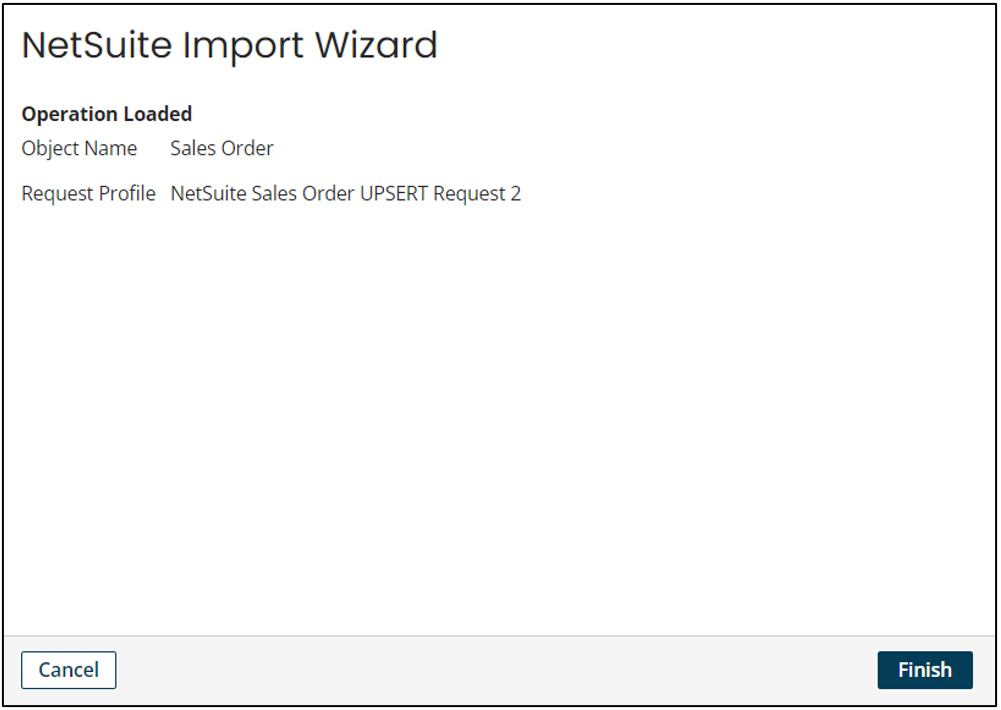
- Then click finish as shown below,
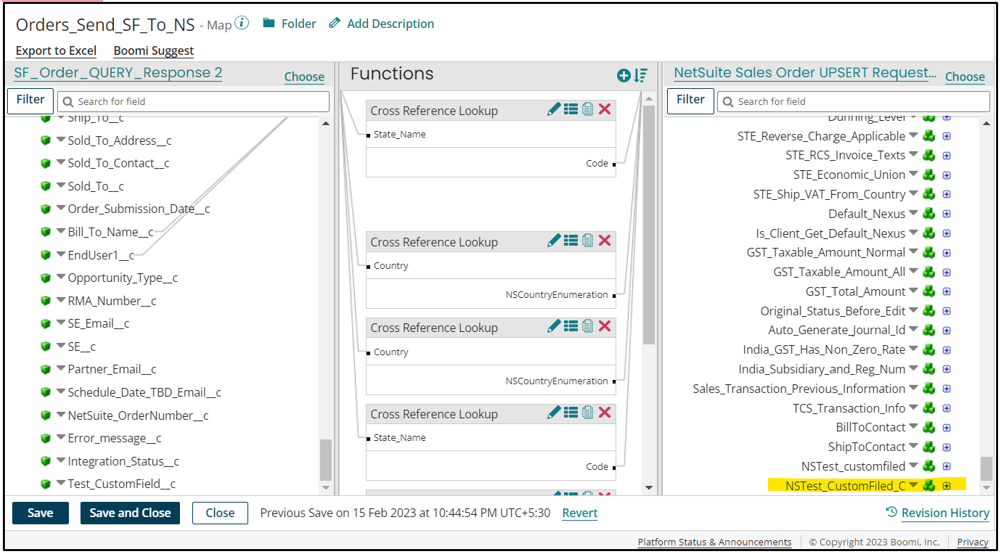
- You can verify the updated changes in NetSuite profile at the Map, where we are using respective NetSuite profile as shown below.
- Go to the respective process and go to the NetSuite operation. Select the ‘Import’ button at the top right corner as shown below,
Additional Resources:
Cover Image from Freepik