Steps to create Custom Field in Salesforce
- After login into Salesforce, go to ‘9 dots’ which are present at the left corner of the screen, and search for the required Object name.
- For example, here, you wish to search for the ‘Orders’ item. Once you start typing ‘Orders’ it will automatically display the results.
- Please refer to the below screenshot for reference as shown below.

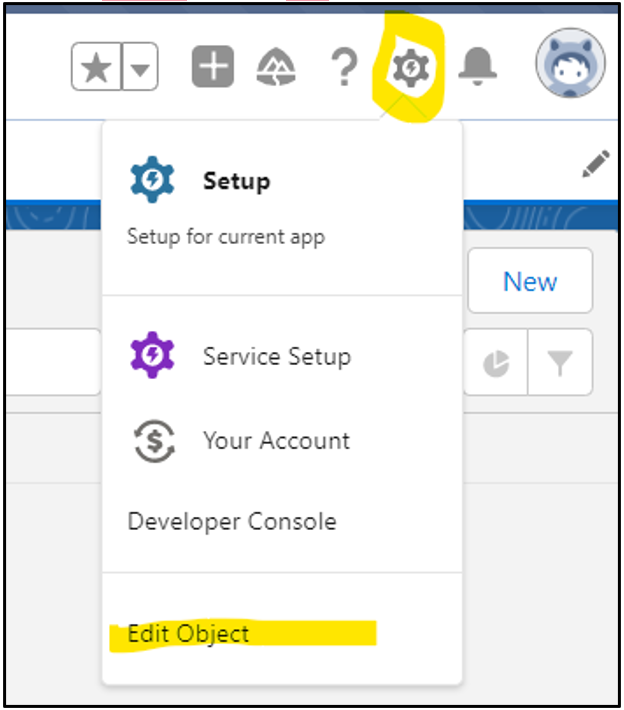
- Choose the ‘setup’ icon at the top right corner and then select ‘Edit Object’ as shown below.
- It will redirect to a new window with relevant options as shown below,
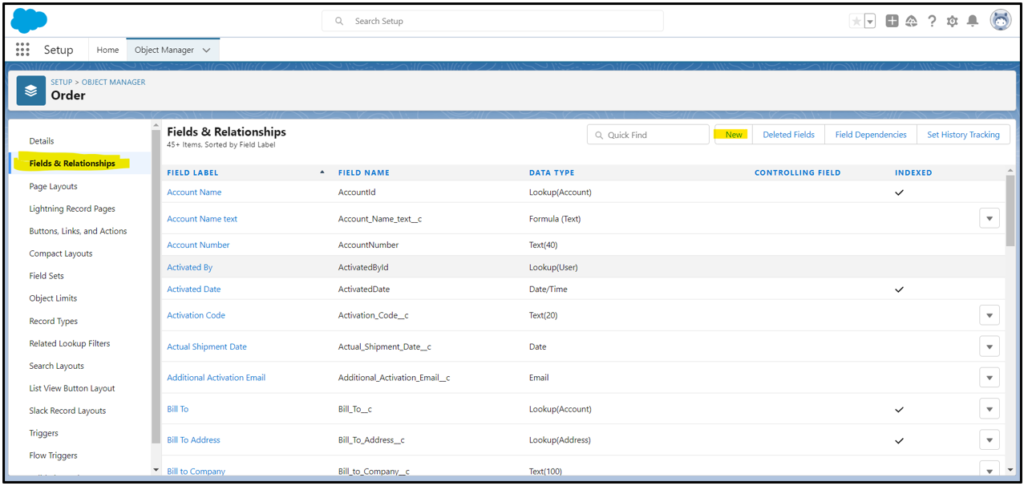
- Go to Fields & Relationships section, and select ‘New’ option at the right top corner as shown above.
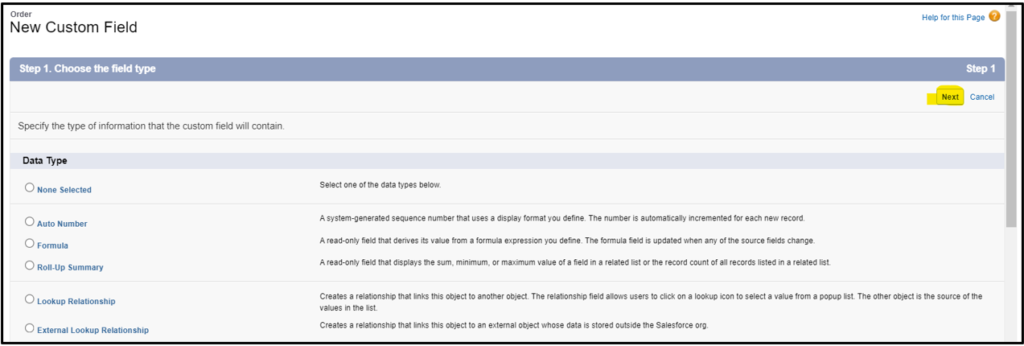
- Choose field type in step1. Please select the datatype as per your requirement. Here, I go with ‘text’ as my required datatype and then click ‘next’.
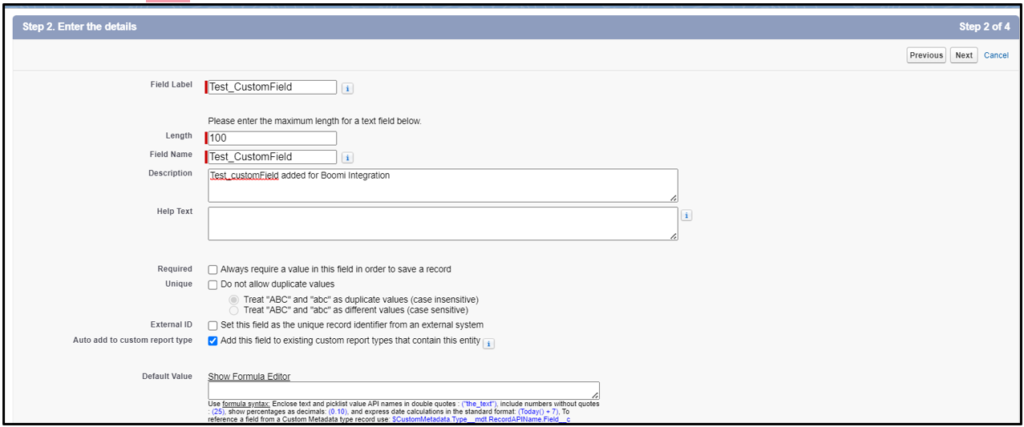
- Provide the Mandatory fields (which are having Red color underneath) details like field name, length, field label details, and then click ‘next’.
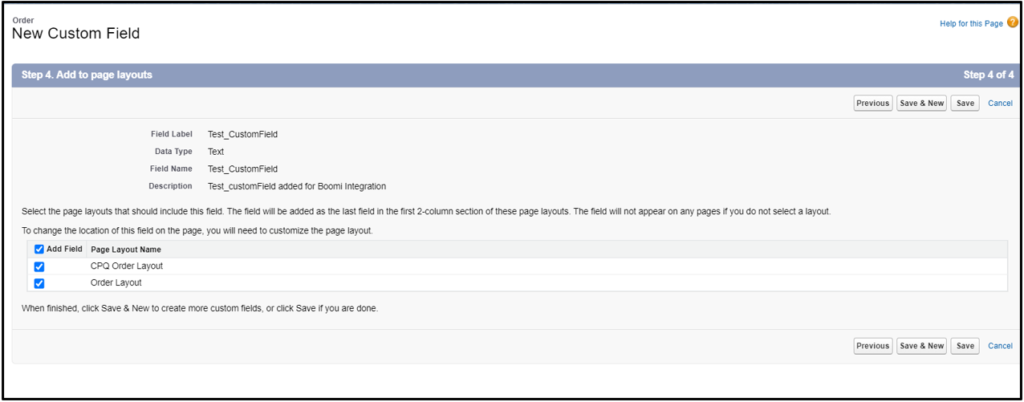
- Just hit the save button till step4 in the process as shown below,
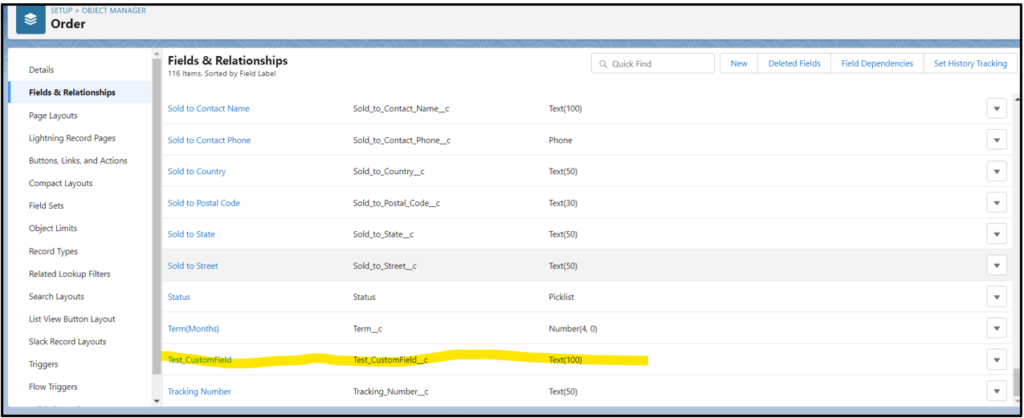
- Once you created the custom filed successfully, you can verify it in the fields & relationships tab as shown below,
- After you added the custom field, Please reimport the respective salesforce object profile.
- Please follow the below steps to reimport the profile,
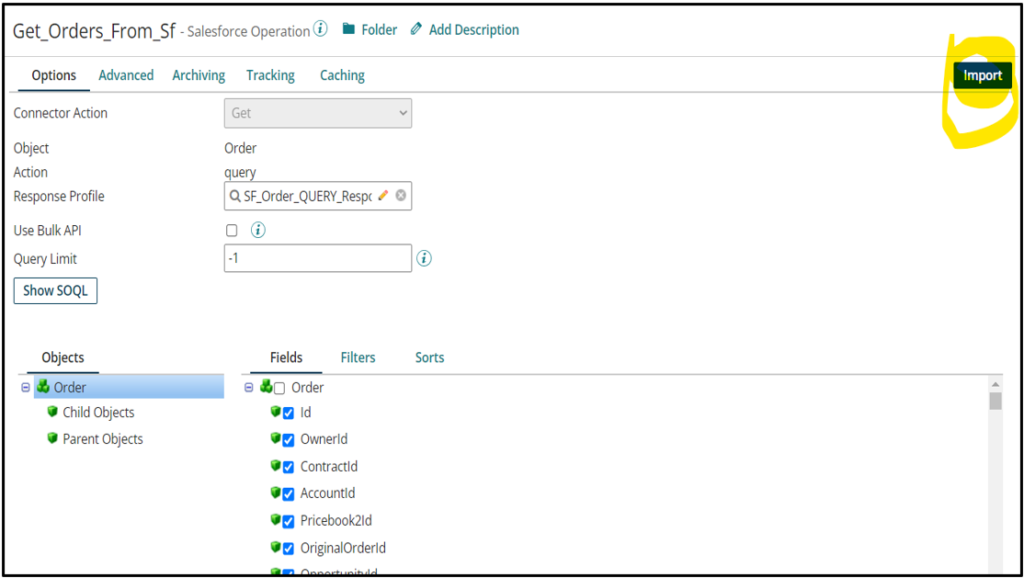
- Go to process and then go to salesforce operation, choose the import button at the top right corner as shown below,
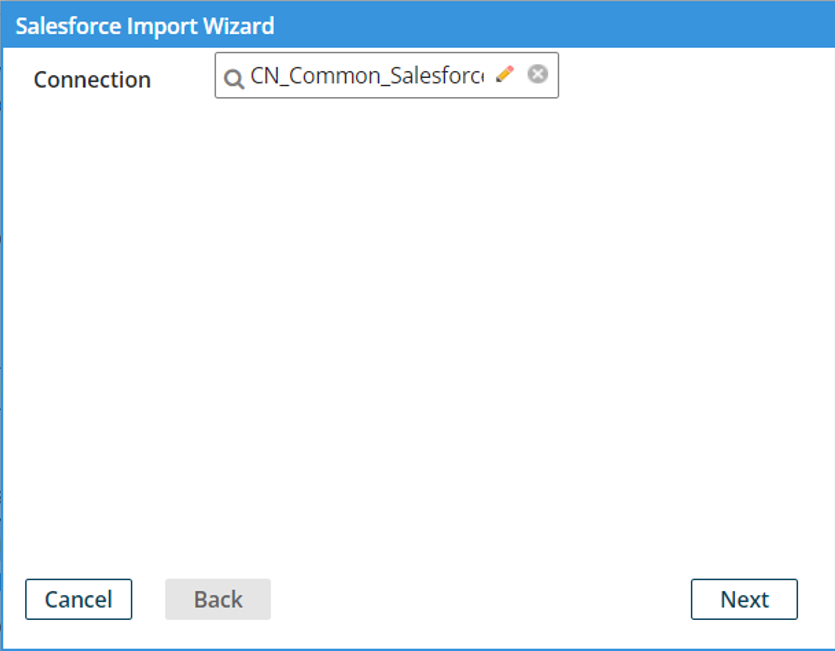
- Choose your salesforce connection as required and click ‘next’.
- Select the Object as required. Here I chose ‘Order’ since I am working on ‘Order’ object and the click next as shown below.
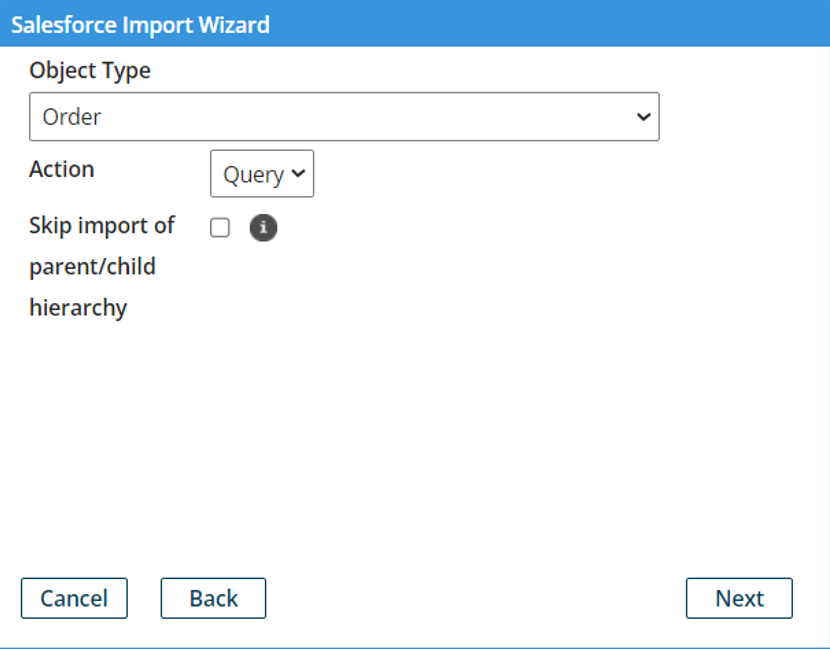
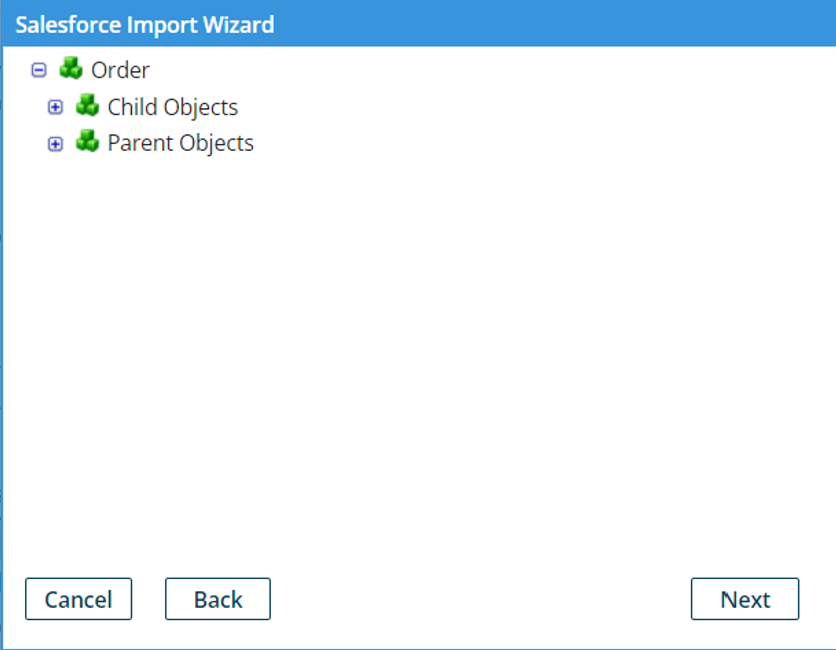
- Choose the object tree click on ‘next’ until you get Finish button as shown below,
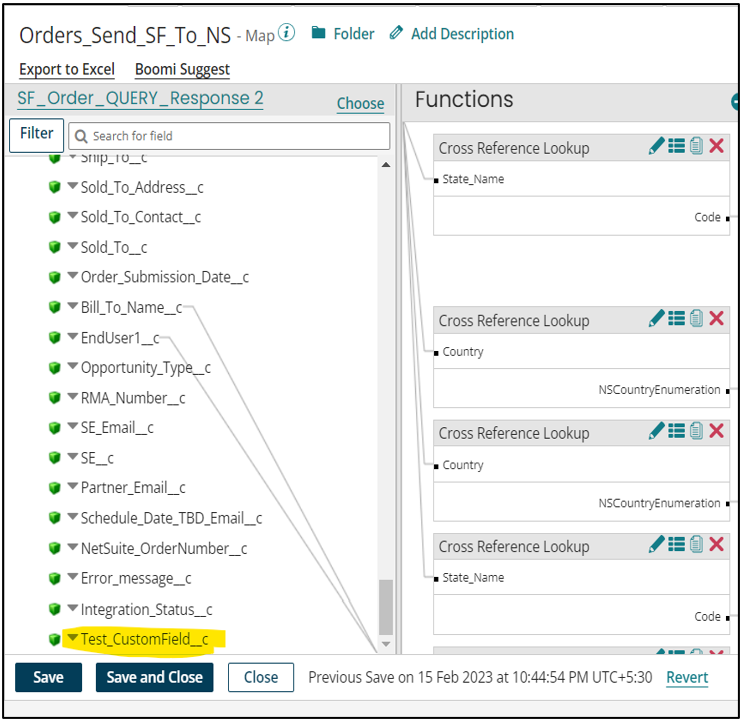
- Then go to map, where you are using that profile, and check for the custom field which you added recently. Here below you can check ‘Test_CustomField_c’ custom field which we added recently as shown below.
- Go to process and then go to salesforce operation, choose the import button at the top right corner as shown below,
Additional Resources:
Cover Image from Freepik


